Home

Featured Products
-
Sale!

Maje Trompe L’Œil Embroidered Shorts Blue | Womens Skirts & Shorts
$ 138.70$ 72.00 Select options -
Sale!

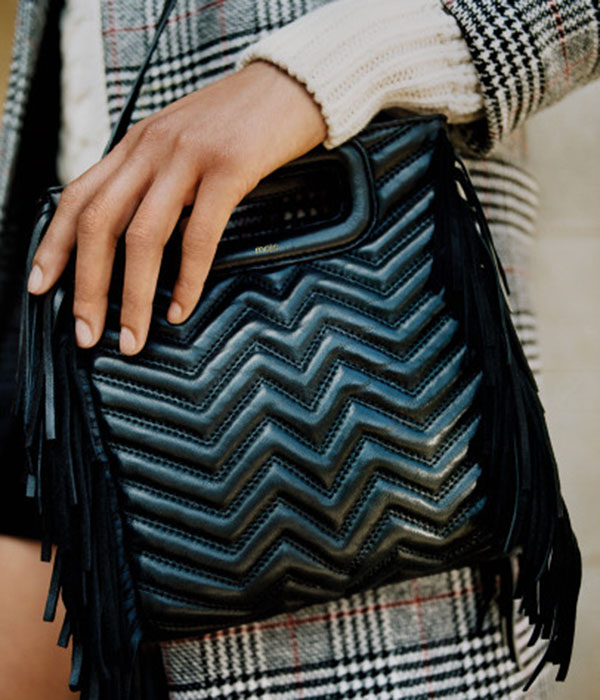
Maje Studded Quilted Leather M Bag Black | Womens M Bags
$ 146.30$ 76.00 Add to cart -
Sale!

Maje Floaty Material-Mix Macramé Knit Top White | Womens Tops & Shirts
$ 184.80$ 76.00 Select options -
Sale!

Maje Two-Tone Leather Sneakers Black / White | Womens Sneakers
$ 178.50$ 84.00 Select options


Most Popular
-
Sale!

Maje Silkscreen Printed Rhinestone T-Shirt Nude | Womens T-Shirts
$ 162.50$ 64.00 Select options -
Sale!

Maje Printed Silk Muslin Top Black | Womens Tops & Shirts
$ 167.20$ 87.00 Select options -
Sale!

Maje Playsuit With Contrasting Trims Light Blue | Womens Jumpshort & Jumpsuits
$ 195.80$ 88.00 Select options -
Sale!

Maje Khaki Cotton Canvas Shorts Khaki | Womens Skirts & Shorts
$ 220.00$ 87.00 Select options